Open Everyday 9am - 5pm
Call 302-239-2727 to Register for Classes
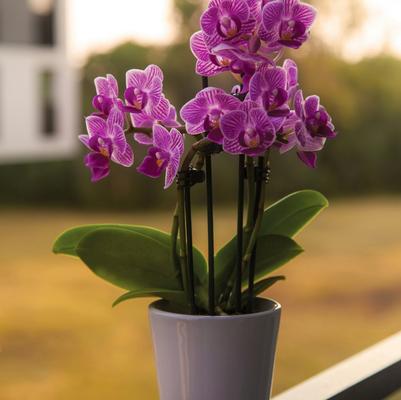
Orchid Care Lecture Saturday April 13 11-12pm
Join us in this one hour instructional class on basic Orchid care. Learn successful techniques for watering, fertilizing and repotting your orchid. $10.00
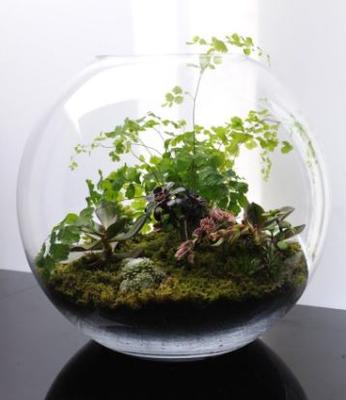
DIY Large Terrarium Workshop Saturday April 20 11-Noon
Expect a hands on class with step by step instructions for creating and caring for your new terrarium. Includes a 10" glass globe, choice of plants, soils & decorative materials. No experience needed! $67.00

Visit Gateway at Winterthur Museum.
Enjoy this rare opportunity to hear Gateway's Nancy Bell and native plant guru Dr. Doug Tallamy at Winterthur Museum's Love Your Mother Celebration on May 11th. Details at Winterthur's web page.
Featured Plants
- Tree
- Shrub
- Perennial
- Fruit


